🤖 Working with LLMs – Part 3: Build a Real Chatbot Using LLMs
Ollama is a powerful tool that allows you to run large language models locally on your machine. It simplifies the process of deploying and managing LLMs without requiring cloud services or expensive infrastructure.
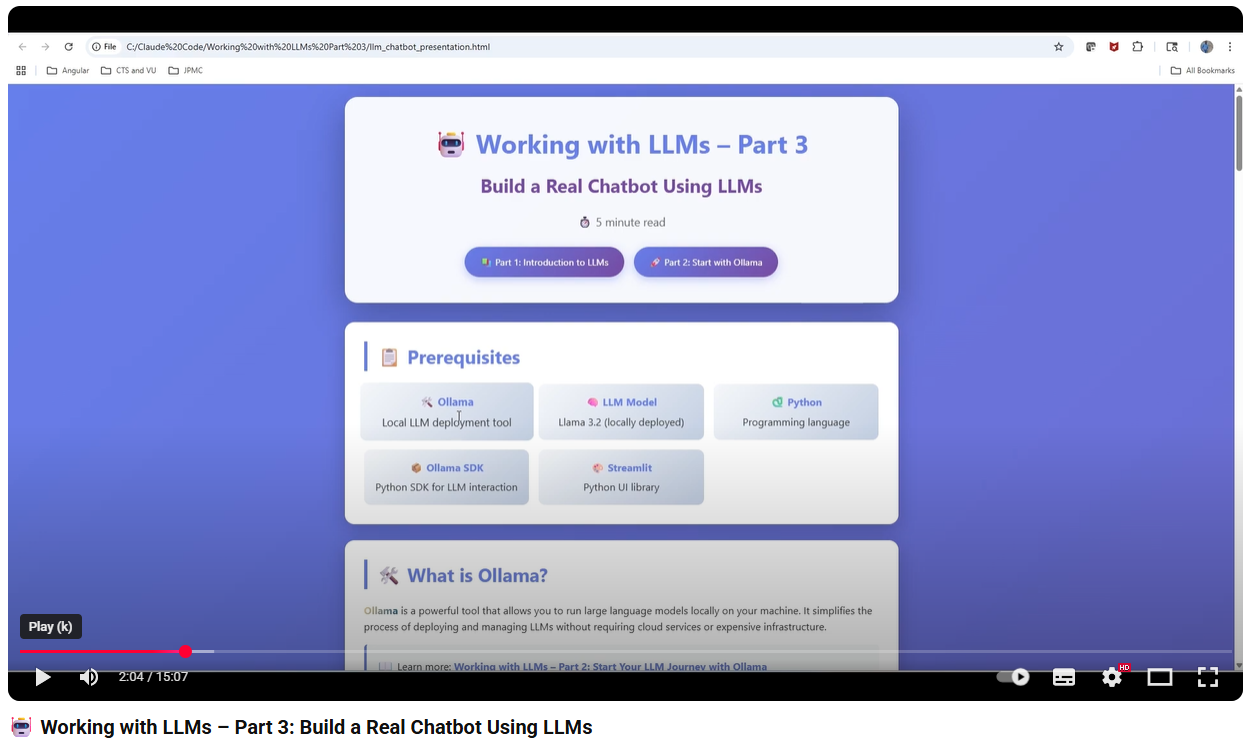
📺 Tutorial Video
- 🤖 Working with LLMs – Part 3: Build a Real Chatbot Using LLMs
 —
—
📚 Previous Series
- Part 1: Introduction to Language Models
- Part 2: Start Your LLM Journey with Ollama
📋 Prerequisites
Before we begin, make sure you have the following:
| Tool | Description |
|---|---|
| 🛠️ Ollama | Local LLM deployment tool |
| 🧠 LLM Model | Llama 3.2 (locally deployed) |
| 🐍 Python | Programming language |
| 📦 Ollama SDK | Python SDK for LLM interaction |
| 🎨 Streamlit | Python UI library |
🛠️ What is Ollama?
Ollama is a powerful tool that allows you to run large language models locally on your machine. It simplifies the process of deploying and managing LLMs without requiring cloud services or expensive infrastructure.
📖 Learn more: Working with LLMs – Part 2: Start Your LLM Journey with Ollama
🧠 Understanding LLM Models (Llama 3.2)
Llama 3.2 is Meta’s advanced large language model designed for conversational AI, text generation, and various NLP tasks. It’s optimized for both performance and efficiency, making it ideal for local deployment.
📖 Learn more: Working with LLMs – Part 1: Introduction to Language Models
🐍 Python – Quick Overview
Python is a versatile, high-level programming language known for its simplicity and readability. It’s the go-to language for AI and machine learning projects, with extensive libraries and community support.
📦 Ollama Python SDK
The Ollama Python SDK provides a simple interface to interact with LLMs deployed via Ollama. It supports both standard chat and streaming responses.
💬 Basic Chat Example
import ollama

response = ollama.chat(
    model='llama3.2',
    messages=[
        {
            'role': 'user',
            'content': 'Why is the sky blue?'
        }
    ]
)

print(response['message']['content'])
🌊 Streaming Response Example
import ollama

stream = ollama.chat(
    model='llama3.2',
    messages=[
        {
            'role': 'user',
            'content': 'Tell me a story'
        }
    ],
    stream=True
)

for chunk in stream:
    print(chunk['message']['content'], end='', flush=True)
🎨 Streamlit – Build Beautiful UIs
Streamlit is an open-source Python library that makes it incredibly easy to create interactive web applications for data science and machine learning projects. No HTML, CSS, or JavaScript required!
✨ Quick Streamlit Example
import streamlit as st

st.title("My First Streamlit App")
name = st.text_input("Enter your name:")
if st.button("Greet"):
    st.write(f"Hello, {name}!")
📚 Documentation: https://docs.streamlit.io
🎯 Our Use Case
We’re building an AI Chat Assistant Chatbot using:
- LLM Model: Llama 3.2 (deployed via Ollama)
- UI Framework: Streamlit for interactive chat interface
- Features: Real-time conversational AI with streaming responses
🏗️ Building the Chatbot
Step 1️⃣: Create Ollama Client Connection
First, we’ll establish a connection to the Llama 3.2 model using the Ollama Python SDK:
import ollama

# Initialize Ollama client
def get_llm_response(message_history):
    """
    Get response from Llama 3.2 model

    Args:
        message_history: List of conversation messages

    Returns:
        Stream of response chunks
    """
    stream = ollama.chat(
        model='llama3.2',
        messages=message_history,
        stream=True
    )

    return stream
Step 2️⃣: Build Streamlit Chat Interface
Now, let’s create an interactive chat UI with Streamlit:
import streamlit as st
import ollama

# Page configuration
st.set_page_config(
    page_title="AI Chat Assistant",
    page_icon="🤖",
    layout="wide"
)

st.title("🤖 AI Chat Assistant")
st.caption("Powered by Llama 3.2")

# Initialize chat history
if "messages" not in st.session_state:
    st.session_state.messages = []

# Display chat history
for message in st.session_state.messages:
    with st.chat_message(message["role"]):
        st.markdown(message["content"])

# Chat input
if prompt := st.chat_input("What would you like to know?"):
    # Add user message to chat
    st.session_state.messages.append({
        "role": "user",
        "content": prompt
    })

    with st.chat_message("user"):
        st.markdown(prompt)

    # Get AI response
    with st.chat_message("assistant"):
        message_placeholder = st.empty()
        full_response = ""

        # Stream response from Ollama
        stream = ollama.chat(
            model='llama3.2',
            messages=st.session_state.messages,
            stream=True
        )

        for chunk in stream:
            content = chunk['message']['content']
            full_response += content
            message_placeholder.markdown(full_response + "▌")

        message_placeholder.markdown(full_response)

    # Add assistant response to history
    st.session_state.messages.append({
        "role": "assistant",
        "content": full_response
    })
Step 3️⃣: Run Your Chatbot
Save the code as chatbot.py and run it with:
streamlit run chatbot.py
Your chatbot will open in your browser at http://localhost:8501 🎉
✅ Key Features Implemented
- 💬 Real-time Chat Interface: Interactive conversation with your AI
- 🌊 Streaming Responses: See the AI think and respond in real-time
- 📝 Conversation History: Maintains context throughout the chat
- 🎨 Beautiful UI: Clean, modern interface with Streamlit
- 🏠 Local Deployment: All processing happens on your machine
🚀 Next Steps
Now that you have a working chatbot, consider these enhancements:
- Add conversation memory management
- Implement different personality modes
- Add document upload and Q&A functionality
- Create custom system prompts for specific use cases
- Deploy to a web server for broader access
🎓 Happy Building!
You’ve successfully created your first LLM-powered chatbot. Keep exploring and building amazing AI applications!