🤖 Creating Your First Agent with Google Agent Development Kit (ADK)
A hands-on walkthrough of Google's Agent Development Kit (ADK) — from grabbing a free Google AI Studio API key to scaffolding, running, and chatting with your first agent from both the CLI and the built-in Web UI.
Table of Contents
- What Is Google ADK
- Step 1: Get a Google AI Studio API Key
- Step 2: Pick Your Language
- Setting Up the Python Workspace
- Creating the Agent
- Running the Agent from the CLI
- Running the Agent with the Web UI
- Wrapping Up
1. What Is Google ADK
Google’s Agent Development Kit (ADK) abstracts away a lot of the complex foundational work that goes into building AI agents, so developers can focus on the agent’s logic instead of the plumbing around it. Google also gives you a free tier for LLM consumption — all you need is a Google account and an API key from Google AI Studio.
In this post, I’ll walk through creating a first agent end-to-end: getting an API key, scaffolding a project, and running it both from the terminal and from ADK’s Web UI.
2. Step 1: Get a Google AI Studio API Key
Have a Google account ready, head to Google AI Studio, and create an API key. You’ll need this key during the agent creation step.
3. Step 2: Pick Your Language
Google ADK isn’t limited to one language. It currently supports:
- Python
- Java
- TypeScript
- Go
- Kotlin
For this walkthrough, I’m using the Python ADK.
4. Setting Up the Python Workspace
Open a terminal and create a working folder — I named mine google-adk-workspace.
mkdir google-adk-workspace
cd google-adk-workspace
Install the ADK Python library:
pip install google-adk
Once it’s installed, confirm it by checking the CLI’s help output:
PS C:\workspace\google-adk-workspace> adk --help
Usage: adk [OPTIONS] COMMAND [ARGS]...

  Agent Development Kit CLI tools.

Options:
  --version  Show the version and exit.
  --help     Show this message and exit.

Commands:
  api_server   Starts a FastAPI server for agents.
  conformance  Conformance testing tools for ADK.
  create       Creates a new app in the current folder with prepopulated agent template.
  deploy       Deploys agent to hosted environments.
  eval         Evaluates an agent given the eval sets.
  eval_set     Manage Eval Sets.
  migrate      ADK migration commands.
  optimize     Optimizes the root agent instructions using the GEPA optimizer.
  run          Runs an agent.
  telemetry    Manage telemetry settings.
  test         Runs pytest on agent test JSON files under the specified folder.
  web          Starts a FastAPI server with Web UI for agents.
💡 Note: The
adkCLI is your main entry point for scaffolding, running, testing, evaluating, and deploying agents — all from one tool.
5. Creating the Agent
With the workspace ready, create the agent using the CLI, providing the requested options along the way:
PS C:\workspace\google-adk-workspace> adk create my_agent
Help improve the ADK (CLI and Web UI) by allowing Google to collect pseudonymized usage data?

This is OFF by default. You can opt out at any time using the 'adk telemetry disable' command or Web UI user settings.

Enable telemetry? [Y/n]: y
Choose a model for the root agent:
1. gemini-3.5-flash
2. Other models (fill later)
Choose model (1, 2): 1
1. Google AI
2. Vertex AI
3. Login with Google
Choose a backend (1, 2, 3): 1

Don't have API Key? Create one in AI Studio: https://aistudio.google.com/apikey

Enter Google API key: <paste-your-api-key-here>

Agent created in C:\workspace\google-adk-workspace\my_agent:
- .env
- .gitignore
- __init__.py
- agent.py

⚠️  WARNING: Secrets (like GOOGLE_API_KEY) are stored in .env.
That’s it — the CLI scaffolds a working agent for you. Here’s the generated agent.py, opened in the IDE alongside the terminal session:
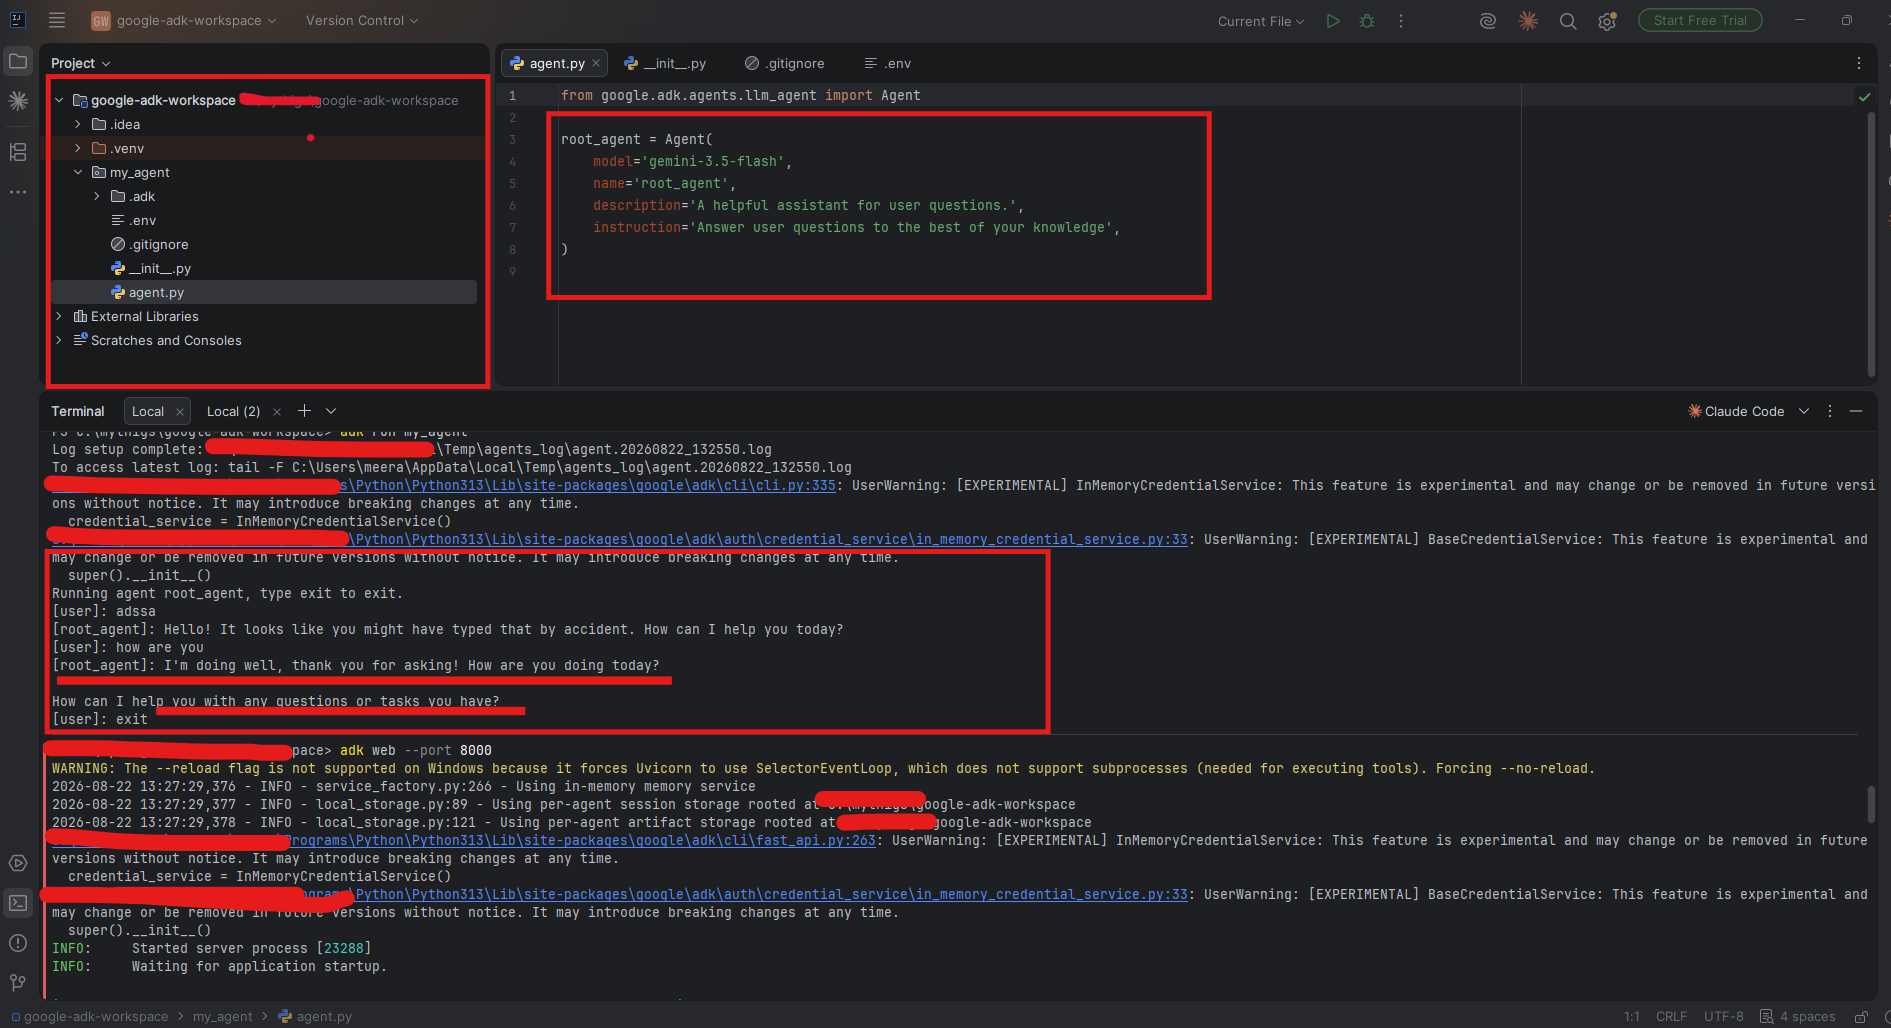
The adk create command scaffolds a minimal Agent with a model, name, description, and instruction — ready to run out of the box.
The generated agent.py is refreshingly small:
from google.adk.agents.llm_agent import Agent

root_agent = Agent(
    model='gemini-3.5-flash',
    name='root_agent',
    description='A helpful assistant for user questions.',
    instruction='Answer user questions to the best of your knowledge',
)
⚠️ Warning: The generated
.envfile stores yourGOOGLE_API_KEYin plain text. Keep it out of source control — the CLI does add it to.gitignorefor you, but it’s worth double-checking.
6. Running the Agent from the CLI
With the agent created, run it directly from the terminal:
PS C:\workspace\google-adk-workspace> adk run my_agent
Log setup complete: C:\Users\<you>\AppData\Local\Temp\agents_log\agent.20260822_132550.log
Running agent root_agent, type exit to exit.
[user]: adssa
[root_agent]: Hello! It looks like you might have typed that by accident. How can I help you today?
[user]: how are you
[root_agent]: I'm doing well, thank you for asking! How are you doing today?

How can I help you with any questions or tasks you have?
[user]: exit
A plain chat loop in the terminal — good enough to sanity-check that the agent, model, and API key are all wired up correctly before moving to anything more elaborate.
7. Running the Agent with the Web UI
For a friendlier experience, ADK ships with a built-in Web UI:
adk web --port 8000
+-----------------------------------------------------------------------------+
| ADK Web Server started                                                      |
|                                                                             |
| For local testing, access at http://127.0.0.1:8000.                         |
+-----------------------------------------------------------------------------+
Opening http://127.0.0.1:8000 in the browser gives you a full dev UI — a session panel, an events/traces view, and a chat window to talk to the agent directly:
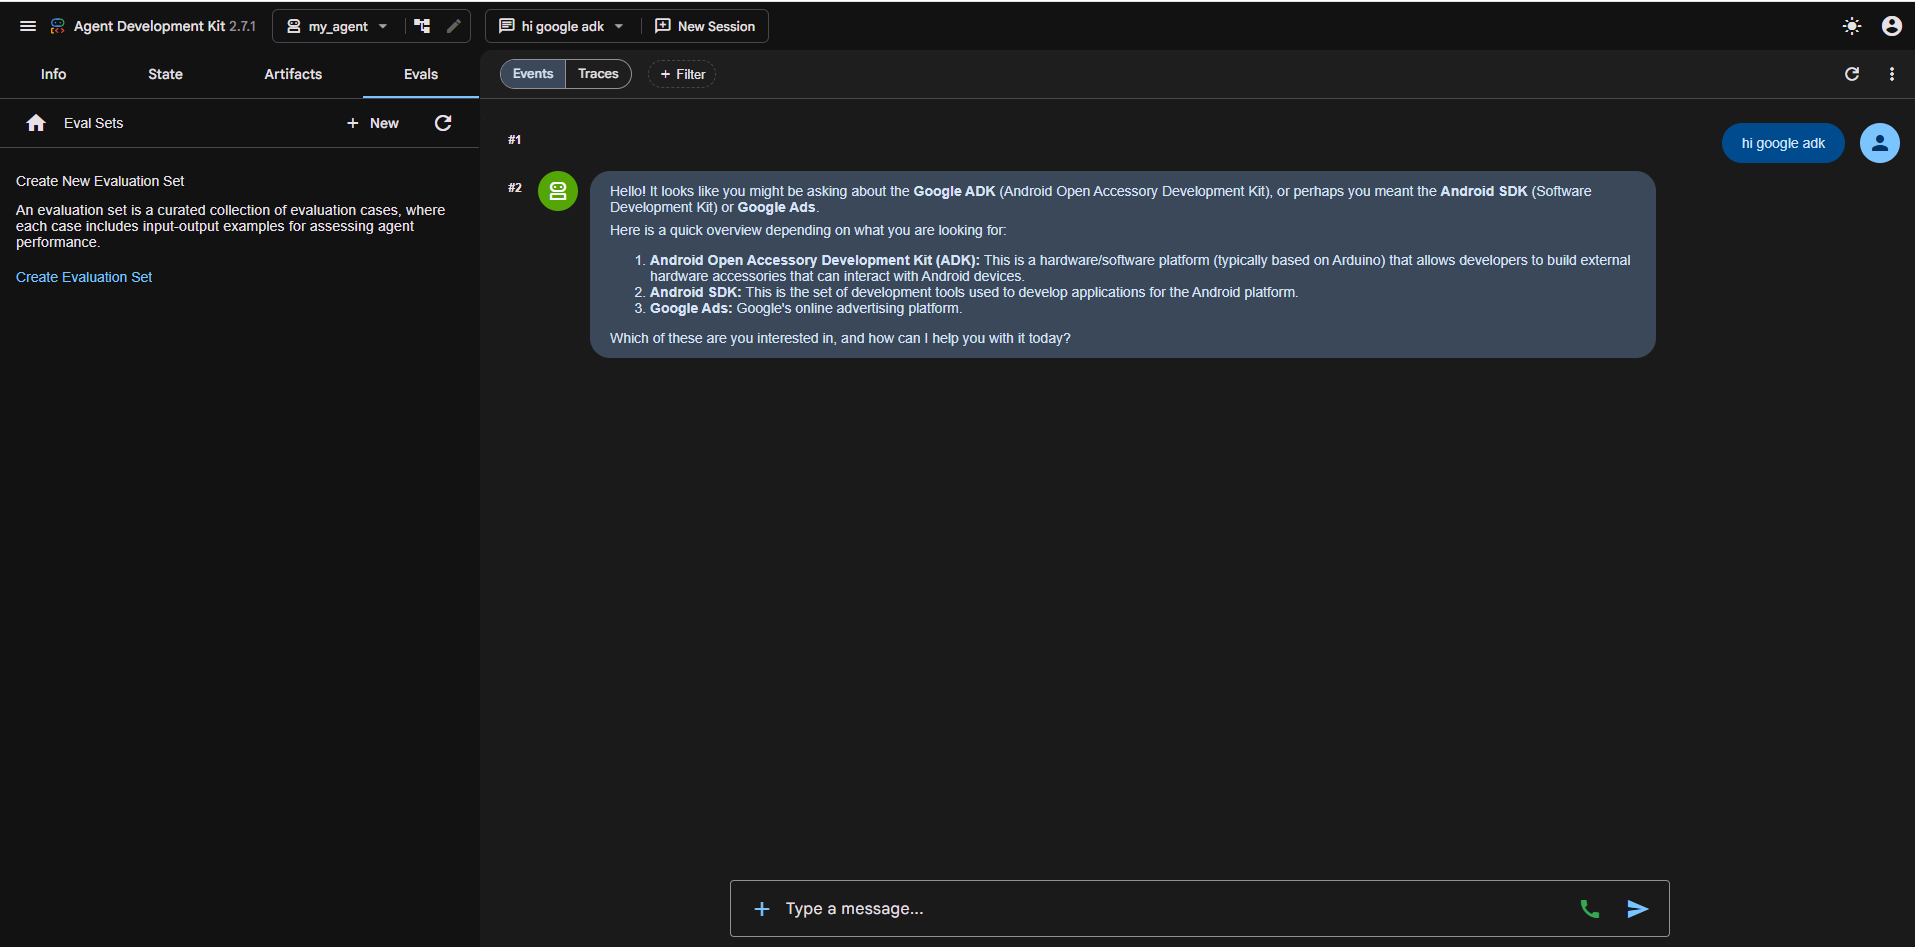
The ADK Web UI running my_agent — chatting with the agent while inspecting events and traces alongside the conversation.
💡 Callout: The Web UI is more than a chat window — the Info, State, Artifacts, and Evals tabs let you inspect what the agent is doing under the hood, and even build evaluation sets right from the browser.
8. Wrapping Up
That’s a complete first loop with Google ADK: get a free API key from Google AI Studio, scaffold an agent with adk create, and run it either from the terminal with adk run or visually with adk web. From here, the natural next steps are customizing the agent’s instructions, adding tools, and exploring ADK’s eval and deployment commands.
This was a quick hands-on walkthrough of getting a first agent running — more posts on building out tools and multi-agent setups with ADK to follow.